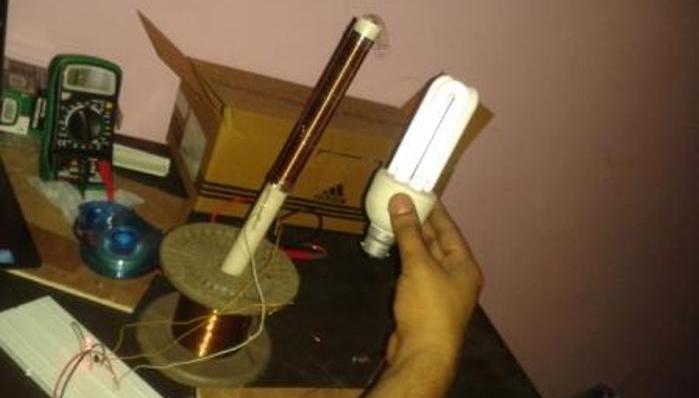
wireless electricity tesla coil

Wireless Electricity (Tesla Coil)

Materials required:
Enamelled copper wire 35 SWG
Enamelled copper wire 25 SWG
Transistor 2N2222A or PN2222A
Resistor 22K
LED
Battery 9V
Switch (Slider type)
Card Board
Transparent Tape
Connecting wires
Soldering Iron
Multimeter
Breadboard
Plastic Pipe 1″ diameter

Fig.1| Step 1 : For the primary coil, wind about 300 turns of the 35 SWG wire on the plastic pipe, then wind 3-4 turns of the 25 SWG wire at the begining of the primary winding as shown in fig 1.
Fig. 2| Step 2 : Now connect the circuit given in Fig. 3 on the breadboard and check if the circuit is working or not. If the LED doesn’t glows interchange the terminals of the primary coil
Fig. 3| Circuit Diagram
Fig. 4| Now make the circuit on PCB and solder it as shown in fig. 4 to 8


Fig.5


Fig.6


Fig. 7| Make the connections neat and clean


Fig. 8
Fig. 9| Now the circut is complete, connect the switch as shown in fig. 10 and solder it


Fig.10


Fig. 11| Now connect the battery connector, You can take the help of a cloth clip for making the soldering process easier
Fig. 12| The battery connector and the switch are connected. Now connect the primary and secondary coils to the circuit and solder them properly as shown in fig. 13


Fig. 13
Fig. 14| Now the corcuit is fully ready, switch it on and check whether the LED is glowing or not. If LED is not glowing interchange the terminals of the primary.
Fig. 15| Now take a CFL bulb and keep it near the secondary coil it will start glowing


Fig. 16| Completed Tesla coil operating in dark


Submitted by:
Prashant Kumar Sinha

Leave a Comment

Your email address will not be published. Required fields are marked *